


Planning and Installing Invisible Doors: When to Start

One of the questions we hear most is: “When should I order an invisible door?” It usually comes too late — the walls are already plastered, sometimes even painted. Installing an invisible door is different from fitting a standard one: its frame stays inside the wall, so planning has to start at the very beginning of a renovation. In this article we walk through planning invisible doors stage by stage: which decision to make when, and in what order the installation happens.
The short answer: when should you start?
- Ideal — at the interior design stage. Which doors will be invisible, their height and opening side go into the plan.
- At the latest — before plastering. The concealed frame must be set into the opening before the walls are plastered.
- Too late — after the walls are painted. Installation is still possible, but the area around the opening has to be opened up, re-plastered and the wall repainted.
Why plan an invisible door so early?
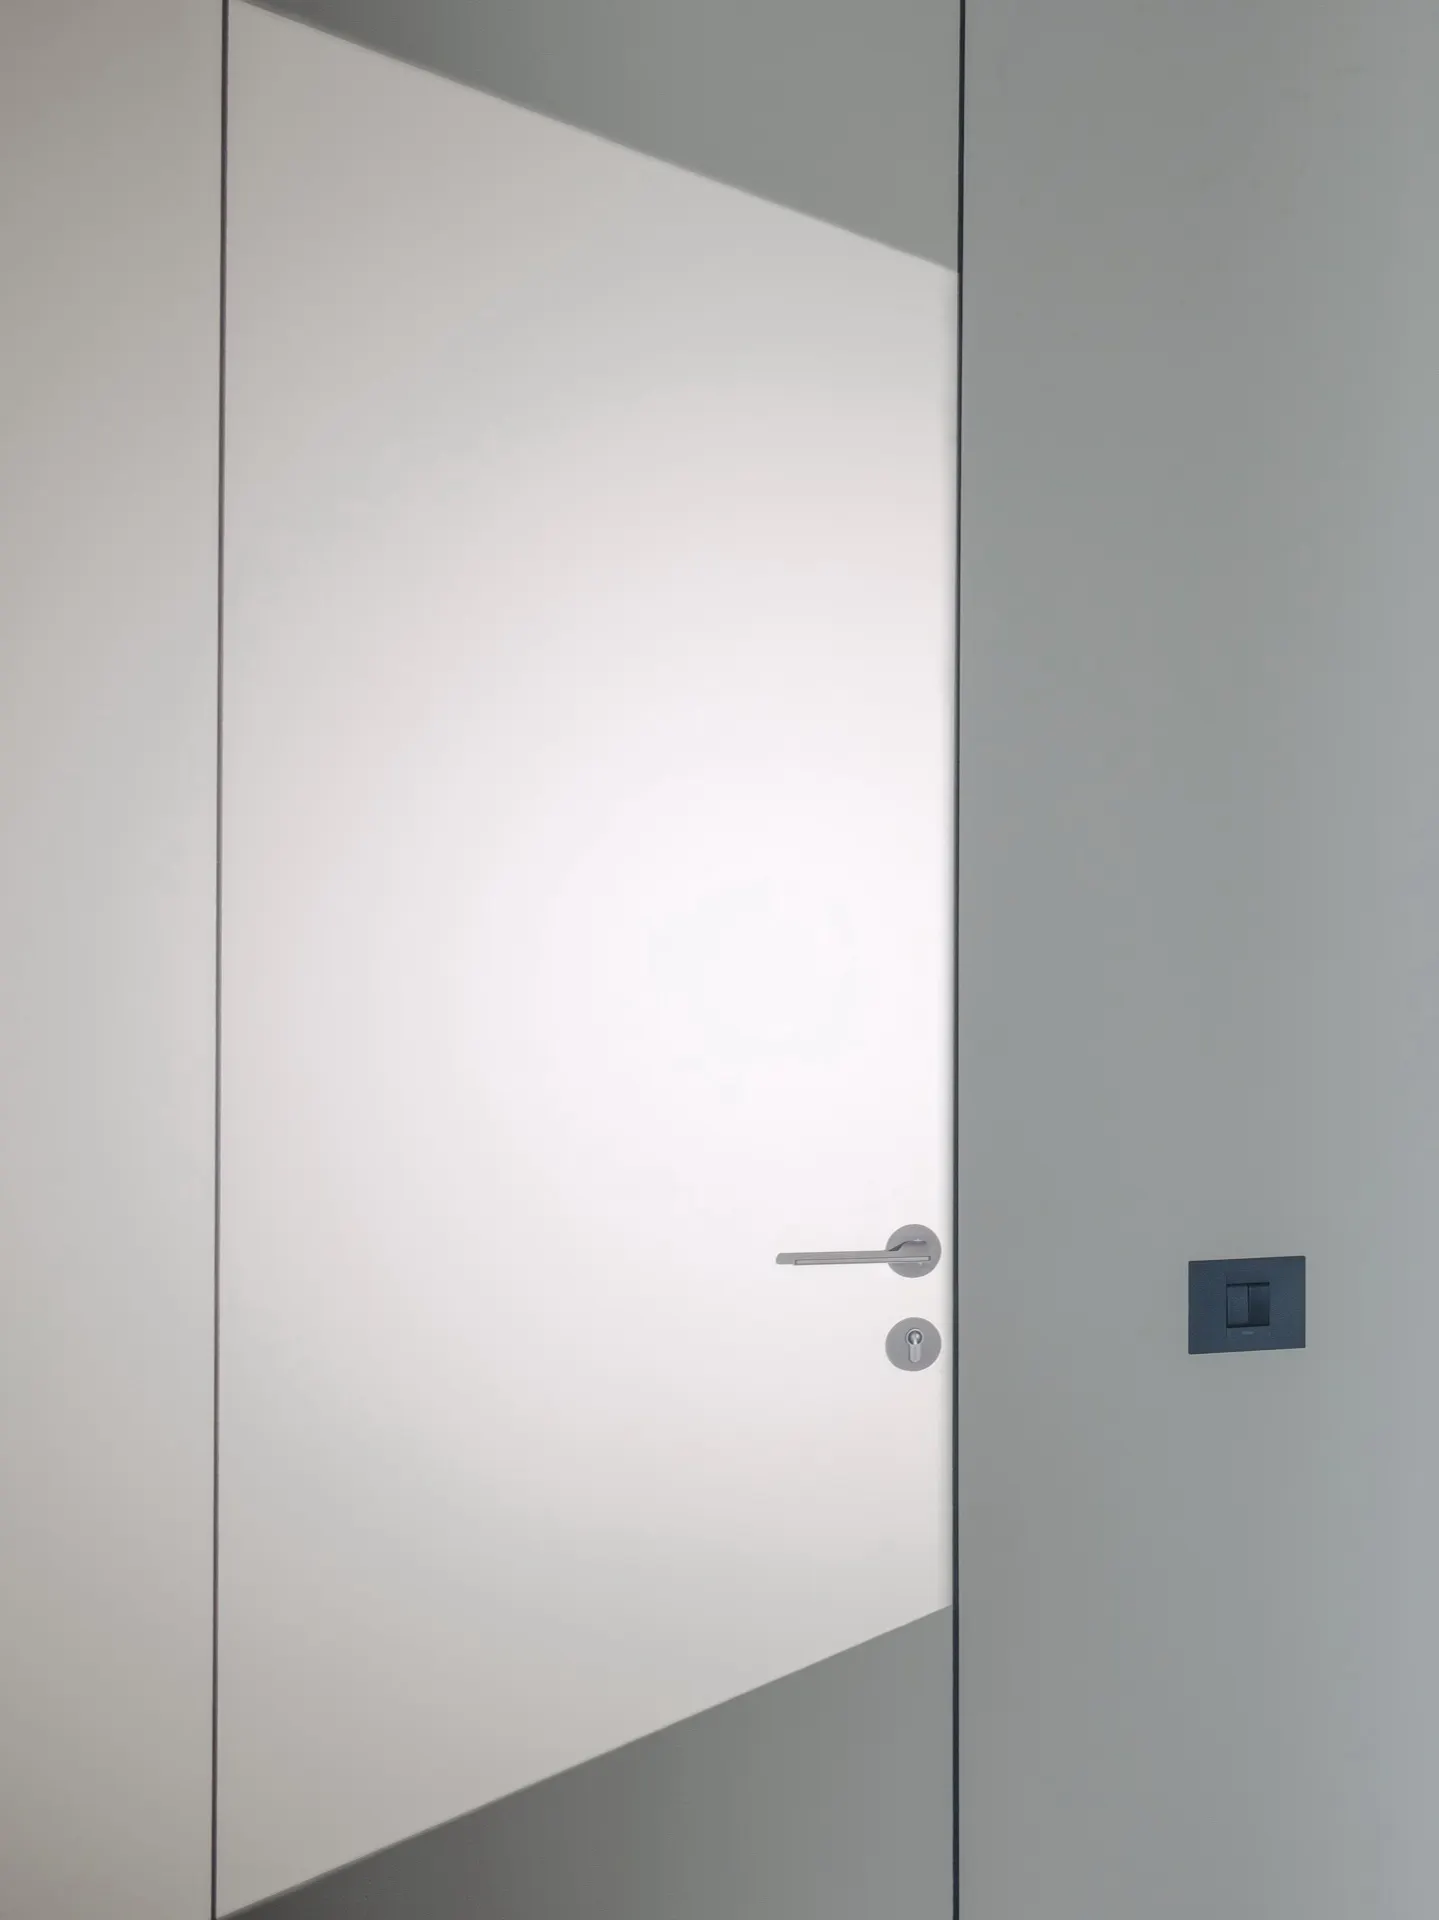
A standard door is fitted into a finished opening at the end of the renovation, and the architraves cover the joints. An invisible door has no architraves: the wall surface runs right up to the edge of the door. To achieve that, a concealed aluminium frame is plastered in together with the wall and becomes part of it. So the frame has to be in place before the plasterers arrive — and its size depends on the wall thickness, the finished floor level and the door height. The sooner these numbers are fixed, the more precise the result.
Stage 1: interior design (before the renovation)
Nothing is demolished yet, but this is where the key decisions are made. With your designer, or with us, decide:
- Which doors will be invisible. Usually bedrooms, bathrooms, walk-in closets, storage and utility rooms.
- Which side is flush with the wall. An invisible door is flush on one side only — usually the hallway or living-room side.
- Opening direction — push or pull, hinges on the left or the right.
- Height — standard (around 2000–2100 mm) or floor-to-ceiling.
- Finish — paint, veneer, slats, mirror, fabric, leather, stone. Heavy finishes need stronger hinges, so this choice affects the frame too.
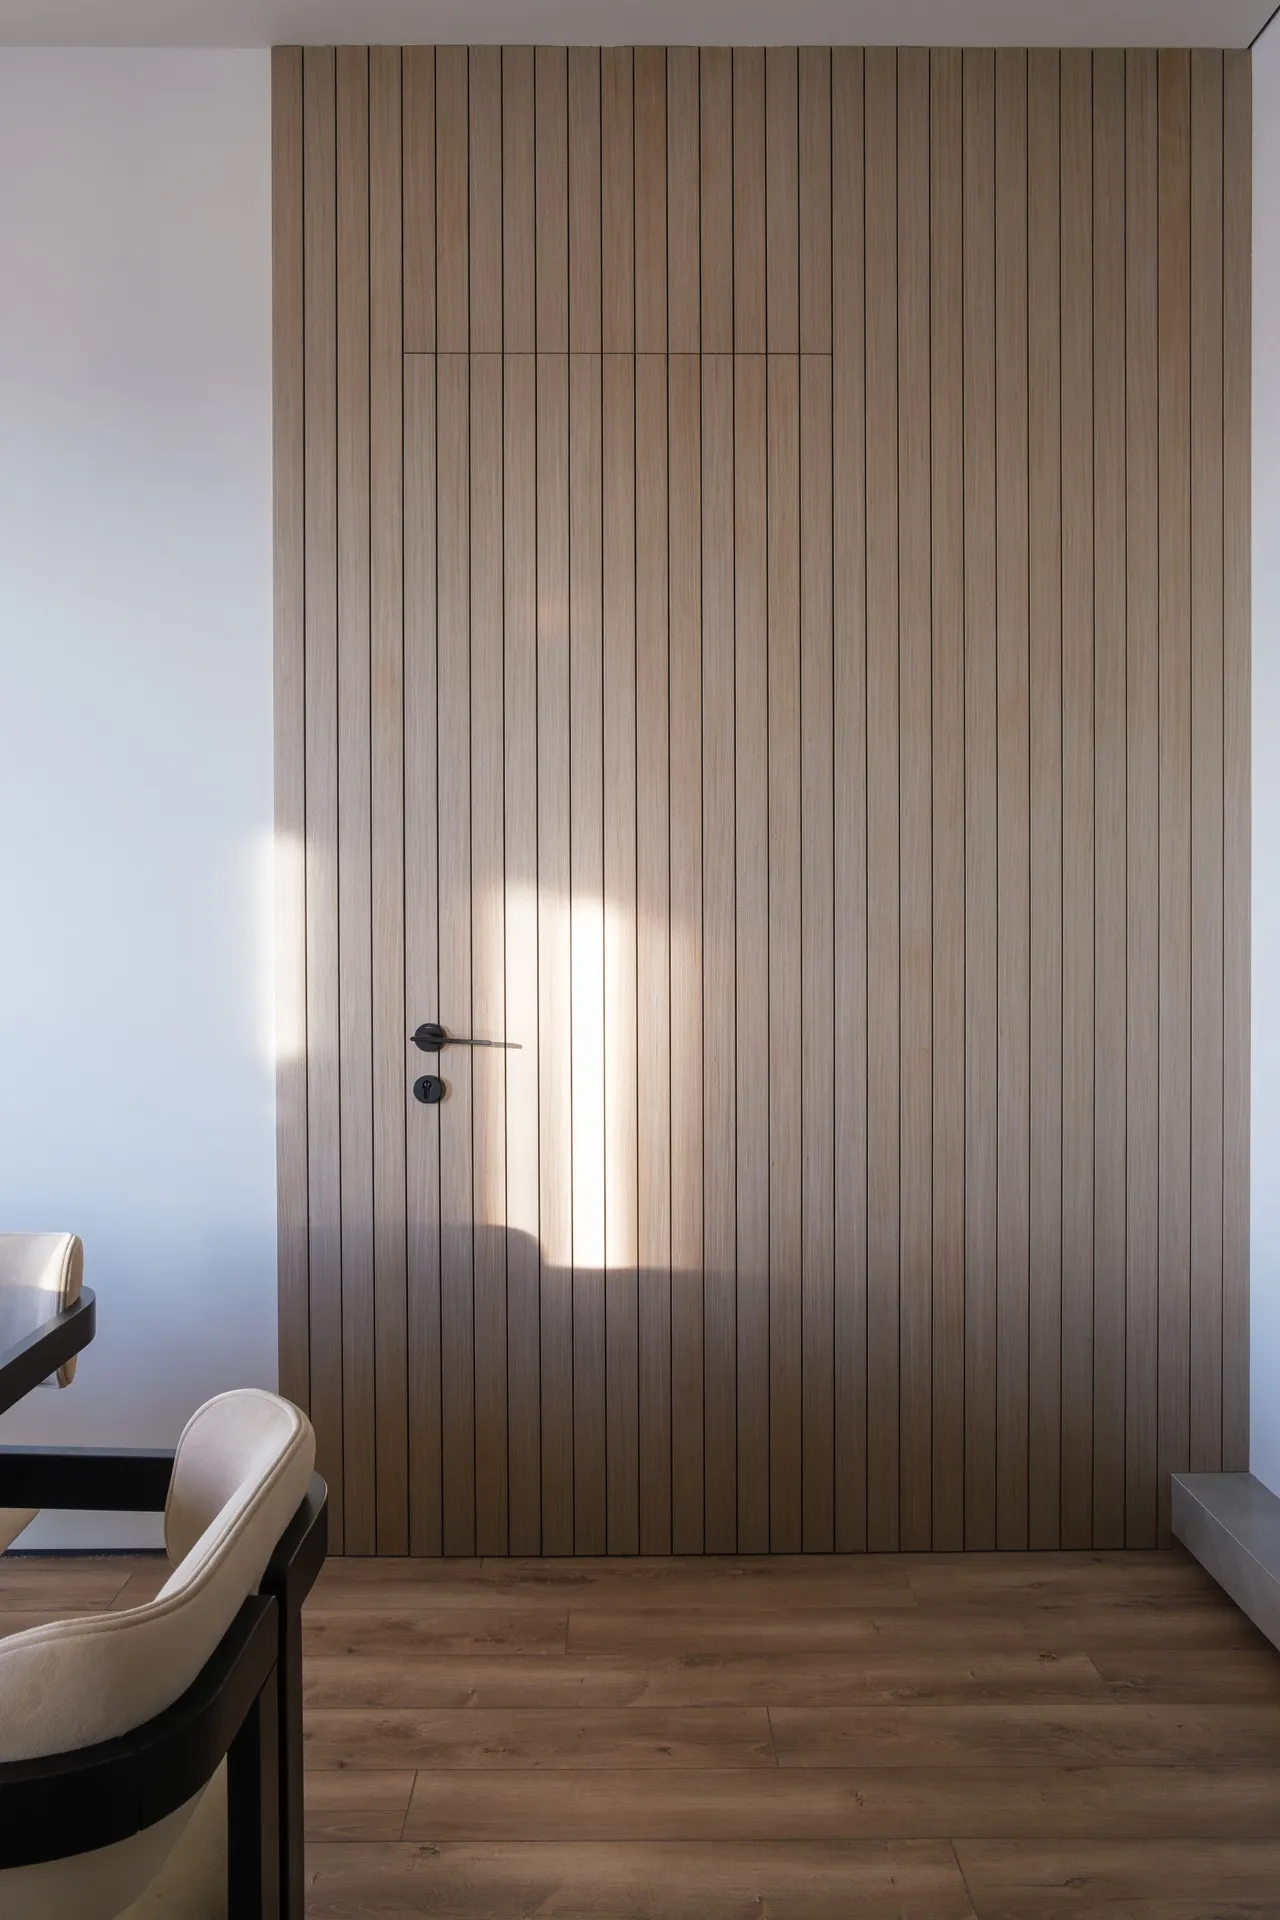
If you want a floor-to-ceiling door or a door that disappears into a slatted wall, decide that now as well: these are designed together with the ceiling, wall panels and lighting.
Stage 2: demolition, masonry and openings
When walls are built or partitions put up, the openings should already match the size of the concealed frame. At this stage:
- Confirm the wall type and thickness. Brick, block, concrete and plasterboard walls each take a different frame.
- Reinforce plasterboard openings with studs — the stud frame, not the board, carries the weight of the door.
- Book a site measurement. The width, height and plumb of the opening are measured, and the frame is made to those sizes.
This is also the right moment to place the order: the frame must be ready before the plasterers arrive.
Stage 3: electrics, plumbing and floor level
The door position must be known when the cables go in. With no architrave, a switch plate that overlaps the door outline is immediately visible.
- Keep switches and sockets well clear of the opening, and do not run cables through the zone where the frame will sit.
- Give us the finished floor level — including screed, tiles or parquet and underfloor heating. If the floor ends up higher than planned, the leaf will drag on it.
- Choose the skirting detail — concealed skirting, no skirting, or skirting flush with the wall. This also has to be decided before plastering.
Stage 4: installing the concealed frame — before plastering
This is the most important step of invisible door installation. The frame is set into the opening, levelled, plumbed and fixed. The plasterer then finishes the wall exactly flush with the edge of the frame. If the frame is set a few millimetres out, fixing it later means breaking the wall open again — which is why it is safer to have the frame installed by fitters who know the system.
During plastering, protect the frame from knocks and mortar, and tell the plasterer in advance that the frame edge is the “finished line” of the wall.
Stage 5: plastering, skimming and painting
The wall is plastered and skimmed right up to the frame edge. Mesh tape over the joint between frame and wall prevents cracks. If you chose a painted door, the primed leaf should be painted at the same time as the wall, with the same paint and the same sheen — a satin door next to a matt wall always gives itself away.
Stage 6: hanging and adjusting the leaf
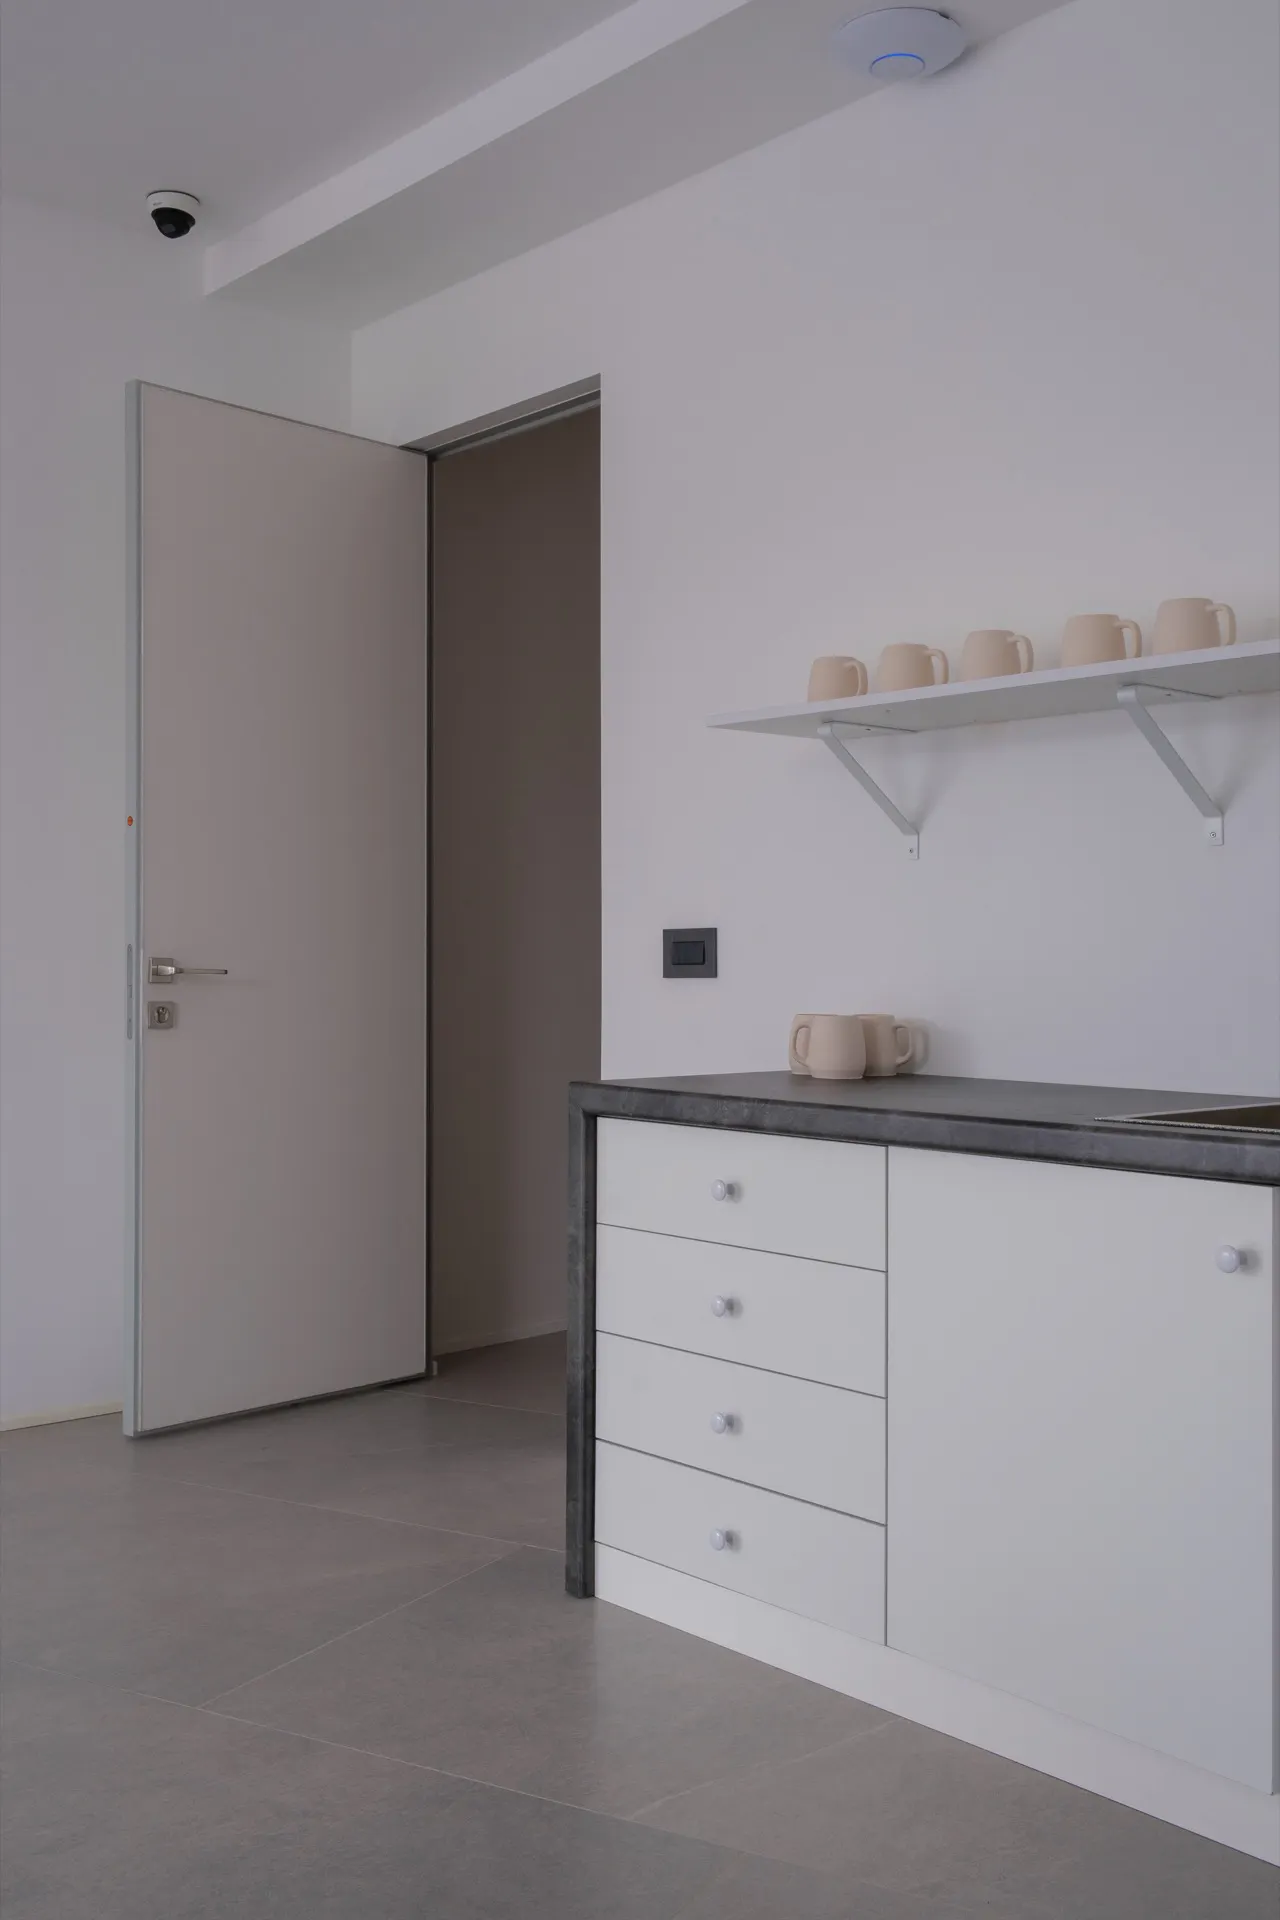
The leaf is hung at the end of the renovation, once the dusty work is done. The concealed hinges are adjustable in 3D so the gaps around the door are even on every side. Then the magnetic lock, the handle and, if needed, a privacy lock are fitted.
Planning timeline: what to do at each stage
- Interior design: location of invisible doors, opening side, height and finish.
- Masonry and partitions: openings sized for the frame, site measurement and order.
- Electrics and floor: switches clear of the door, finished floor level and skirting detail.
- Before plastering: installing the concealed frame.
- Plastering and painting: wall flush with the frame, leaf painted with the wall.
- End of renovation: hanging the leaf, adjusting the hinges, fitting lock and handle.
What if the renovation is already finished?
An invisible door can still be fitted in a finished apartment. There is simply more work: the plaster around the opening is removed, the frame installed, the wall re-plastered and the whole wall repainted. So if you are starting a new renovation, including invisible doors in the plan from day one is both cheaper and faster.
For more on the opening side, height, finishes and hardware, read our practical guide to choosing and installing invisible doors.
Frequently asked questions
When should I order an invisible door?
Once the openings and wall type are known — at the masonry stage. The frame must be installed before plastering starts, so place the order well before the plasterers arrive.
How many stages does invisible door installation have?
Two: first the concealed frame is installed before plastering, then at the end of the renovation the leaf is hung and the hinges adjusted.
Can an invisible door go into a plasterboard wall?
Yes. A dedicated frame is used for plasterboard partitions, and the opening is reinforced with studs. Tell us the wall type and thickness before ordering.
What do I need to have ready for the measurement?
Built openings, the wall thickness, the finished floor level (including screed and floor finish) and the ceiling height. If a stretch or plasterboard ceiling is planned, let us know that too.
Planning invisible doors?
Open Systems makes and installs invisible doors in Baku — from site measurement to frame installation and leaf adjustment. Browse models and finishes on our invisible doors page, or get in touch at the start of your renovation — we will help you choose the right system before plastering begins.